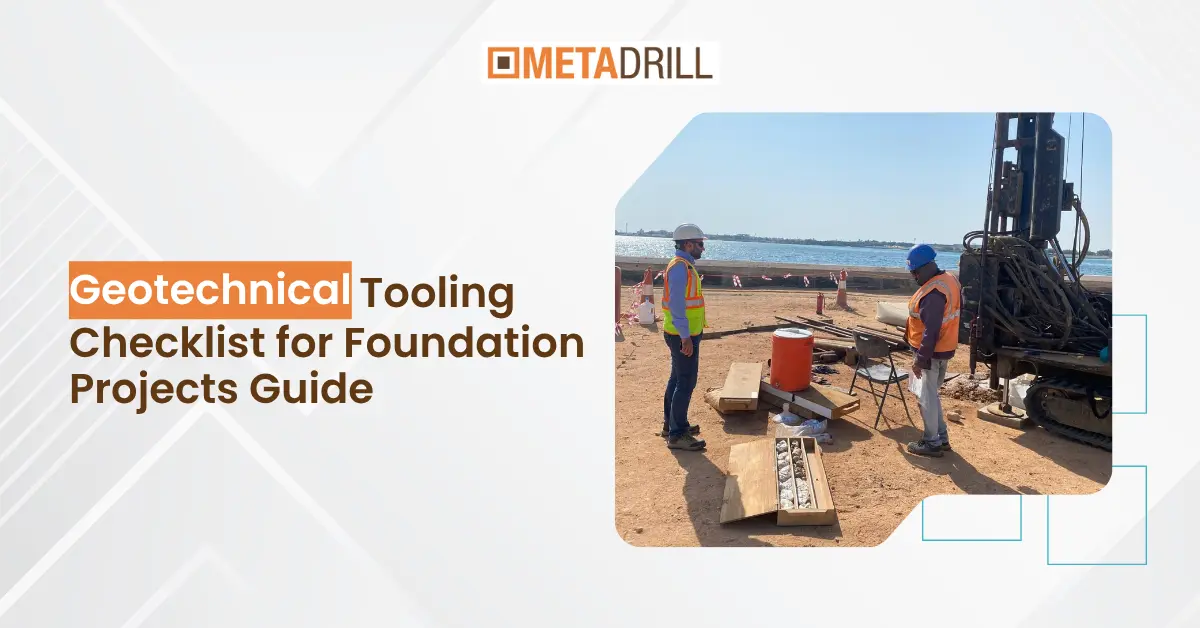
Great foundation work starts with the right geotechnical drilling tools and a disciplined checklist. This guide gives field teams a practical, UAE-ready geotechnical tooling playbook, what to prep, what to verify on site, and how to keep drilling rig tools and equipment working safely and consistently.
Poor ground intel drives disputes: “Physical conditions were unforeseen” accounts for 16.6% of major project claims worldwide. Good planning and the right tooling reduce that risk.
What This Checklist Covers
Scope
This guide focuses on the geotechnical drilling tools that underpin soil/rock investigation for foundations – bits, barrels, rods, handling aids, fluids, and measurement devices, plus the support geotechnical drilling equipment that keeps sampling clean and data defensible.
Goal
A short, repeatable geotechnical tooling checklist that helps crews produce predictable meters, high recovery, and safer pads, using drilling rig tools chosen for the actual ground model.
Pre-Mobilization: Build the Tooling Set to Your Ground Model
Desk prep (do this before the truck moves)
Programme & method fit
Map expected strata and refusal depths; pick sampling methods (SPT, Shelby, split spoon, wireline coring) and match the geotechnical drilling tools accordingly.
Cross-check against ISO 22475-1 principles for sampling/groundwater measurements to keep procedures standard-aligned.
Inventory and spares
Bits by formation (clay/sand/gravels/cemented bands/soft rock/hard rock).
Core barrels/liners, shoe sets, adapters; at least one full spare string.
Rods and coupling checks (threads, straightness).
Critical drilling rig tools and equipment: tongs, breakout/break-in aids, rod spinner, slips, wireline winch gear, lifting points.
Fluids & consumables
Base fluid, polymers, viscosifiers, LCM, lost-gel plugs, pH control, mixing screens.
Filtration and recycling equipment sized for the expected fines.
Measurement & logging kit
Calibrated tape/laser, water level meter, thermometers, densitometer/viscometer, torque gauge, pressure gauges, flow meters.
Clean, labelled sample containers; chain-of-custody forms.
On-Site Setup: Make Quality and Safety Visible
Pad layout and housekeeping
Segregate geotechnical drilling equipment zones: rotation envelope, rod handling, fluids, samples.
Rig mats, drip trays, spill kits; secure cable and hose runs.
Lighting for night shifts; camera angles if remote viewing is used.
Tooling readiness checks
Inspect drilling rig tools: jaws, dies, tong pins, sling integrity.
Verify rod length/ID/OD and thread compound application.
Check bit crown type vs. expected layer; stage alternatives within reach.
Test gauges and sensors; zero instruments; confirm flow and pressure alarms.
Operating Checklist: Keep the Core Clean and the String Alive
Rotation, feed, and circulation
Match rotation/torque to bit spec; avoid over-RPM that burns crowns.
Set feed for contact, not chatter; watch returns for cuttings change.
Maintain fluid properties; record density/viscosity at intervals.
Sampling & recovery discipline
For SPT: capture hammer energy corrections; log blows cleanly.
For cores: confirm liner fit, mark up core boxes, record recovery and RQD.
For soft soils: protect liner temperature; prevent sample disturbance.
Rod handling and tripping
Use mechanical aids where possible; never free-hand near rotation.
Apply thread compound correctly; torque to spec; check for galling.
Keep drilling rig tools and equipment staged to minimize pause time between joints.
Troubleshooting: Fast Fixes That Save a Shift
If penetration stalls
Downshift RPM, add weight carefully, swap to a more aggressive crown, or pre-drill with pilot.
Validate fluid; increase viscosity or add LCM if loss is suspected.
If vibration spikes
Reduce RPM, adjust feed, check bit wear, verify rod straightness.
Inspect breakout system; worn dies can introduce torsional shock to drilling rig tools.
If recovery drops
Slow feed; confirm shoe/liner compatibility; clean barrel.
Recut the face, shorten runs; change flushing strategy.
Unplanned equipment downtime often sits in the 20–30% range across the industry, primarily from weak preventive maintenance, tooling readiness is your best antidote.
Daily Close-Out: Lock In Tomorrow’s Performance Today
Shift-end ritual
Wash and inspect the geotechnical drilling tools set; retire worn bits.
Reconcile rods and couplings; spin a dummy joint to feel for thread damage.
Top up consumables; restage geotechnical drilling equipment and drilling rig tools for the next hole.
Data hygiene
Update logs (depths, runs, refusals, recovery, fluid properties).
Photograph core boxes with IDs visible; back up photos/data to cloud or drive.
Note anomalies and planned mitigations in the morning brief.
Short Master List: Bring-and-Check Essentials
Core tooling bundle (typical)
Bits: drag, PDC, impregnated diamond; crowns sized to ground model.
Barrels/liners/shoes: correct diameter series; spares on hand.
Rods & subs: straight, clean, thread-protected; torque chart onboard.
Handling: tongs, rod spinner, slips, elevators, lifting slings, tag lines.
Fluids: base, additives, LCM, pH control; mixing screens/buckets.
Measurement: torque, pressure, flow, density, viscosity; water level meter.
Safety: guards, interlocks, pinch-point signage, spill kits, eyewash.
You can also check: Drill Rig Rental vs Purchase: Cost, Safety, and Uptime in GCC
Conclusion:
Treat tooling as a system. When geotechnical drilling tools are matched to the ground model, verified each shift, and supported by maintained geotechnical drilling equipment, sample quality rises and downtime falls. Use this geotechnical tooling checklist to stage the right drilling rig tools and equipment, keep drilling rig tools ready, and document what happens downhole. That’s how investigation teams deliver dependable data for foundation design—on time, with fewer surprises.
Question to the public:
UAE-ready guide to geotechnical drilling tools: smart prep, on-site checks, and maintenance that protect samples, cut downtime, and keep drilling rig tools.